Working on the teach.cs Server
Table of Contents
Open Table of Contents
Your teach.cs Account
Everyone registered in this course should have access to teach.cs account and teach.cs server. If you have not already done so, please get an account following the instructions.
SSH and VSCode Setup
You can connect to teach.cs servers using SSH (secure shell) following these instructions.
VSCode provides an easy integration with SSH. You can follow the steps here to set up your VSCode to connect to teach.cs server. These steps mostly follow the official document.
- Install VSCode here if you haven’t done so.
- Install a supported open-ssh client following the instructions according to your system. After the installation, make sure that typing ssh in your terminal gives the following output:
If not, restart your computer and try again.usage: ssh [-46AaCfGgKkMNnqsTtVvXxYy] [-B bind_interface] [-b bind_address] [-c cipher_spec] [-D [bind_address:]port] [-E log_file] [-e escape_char] [-F configfile] [-I pkcs11] [-i identity_file] [-J [user@]host[:port]] [-L address] [-l login_name] [-m mac_spec] [-O ctl_cmd] [-o option] [-p port] [-Q query_option] [-R address] [-S ctl_path] [-W host:port] [-w local_tun[:remote_tun]] destination [command] - Install the Remote-SSH extension for VSCode.
- Open Command Palette (
Ctrl+Shift+Por clicking on the top search bar and type in>), selectRemote-SSH: Connect to Host... - In the new prompt, type in
username@teach.cs.utoronto.ca. Press enter, type in your password and press enter again. - You might need to select the platform type for remote. Choose
Linux. - Once you are connected, you can open any folder by clicking on Open Folder on the left panel, See Figure 1 for an example layout. The default folder is your root folder. You can select your A1 folder to get started.
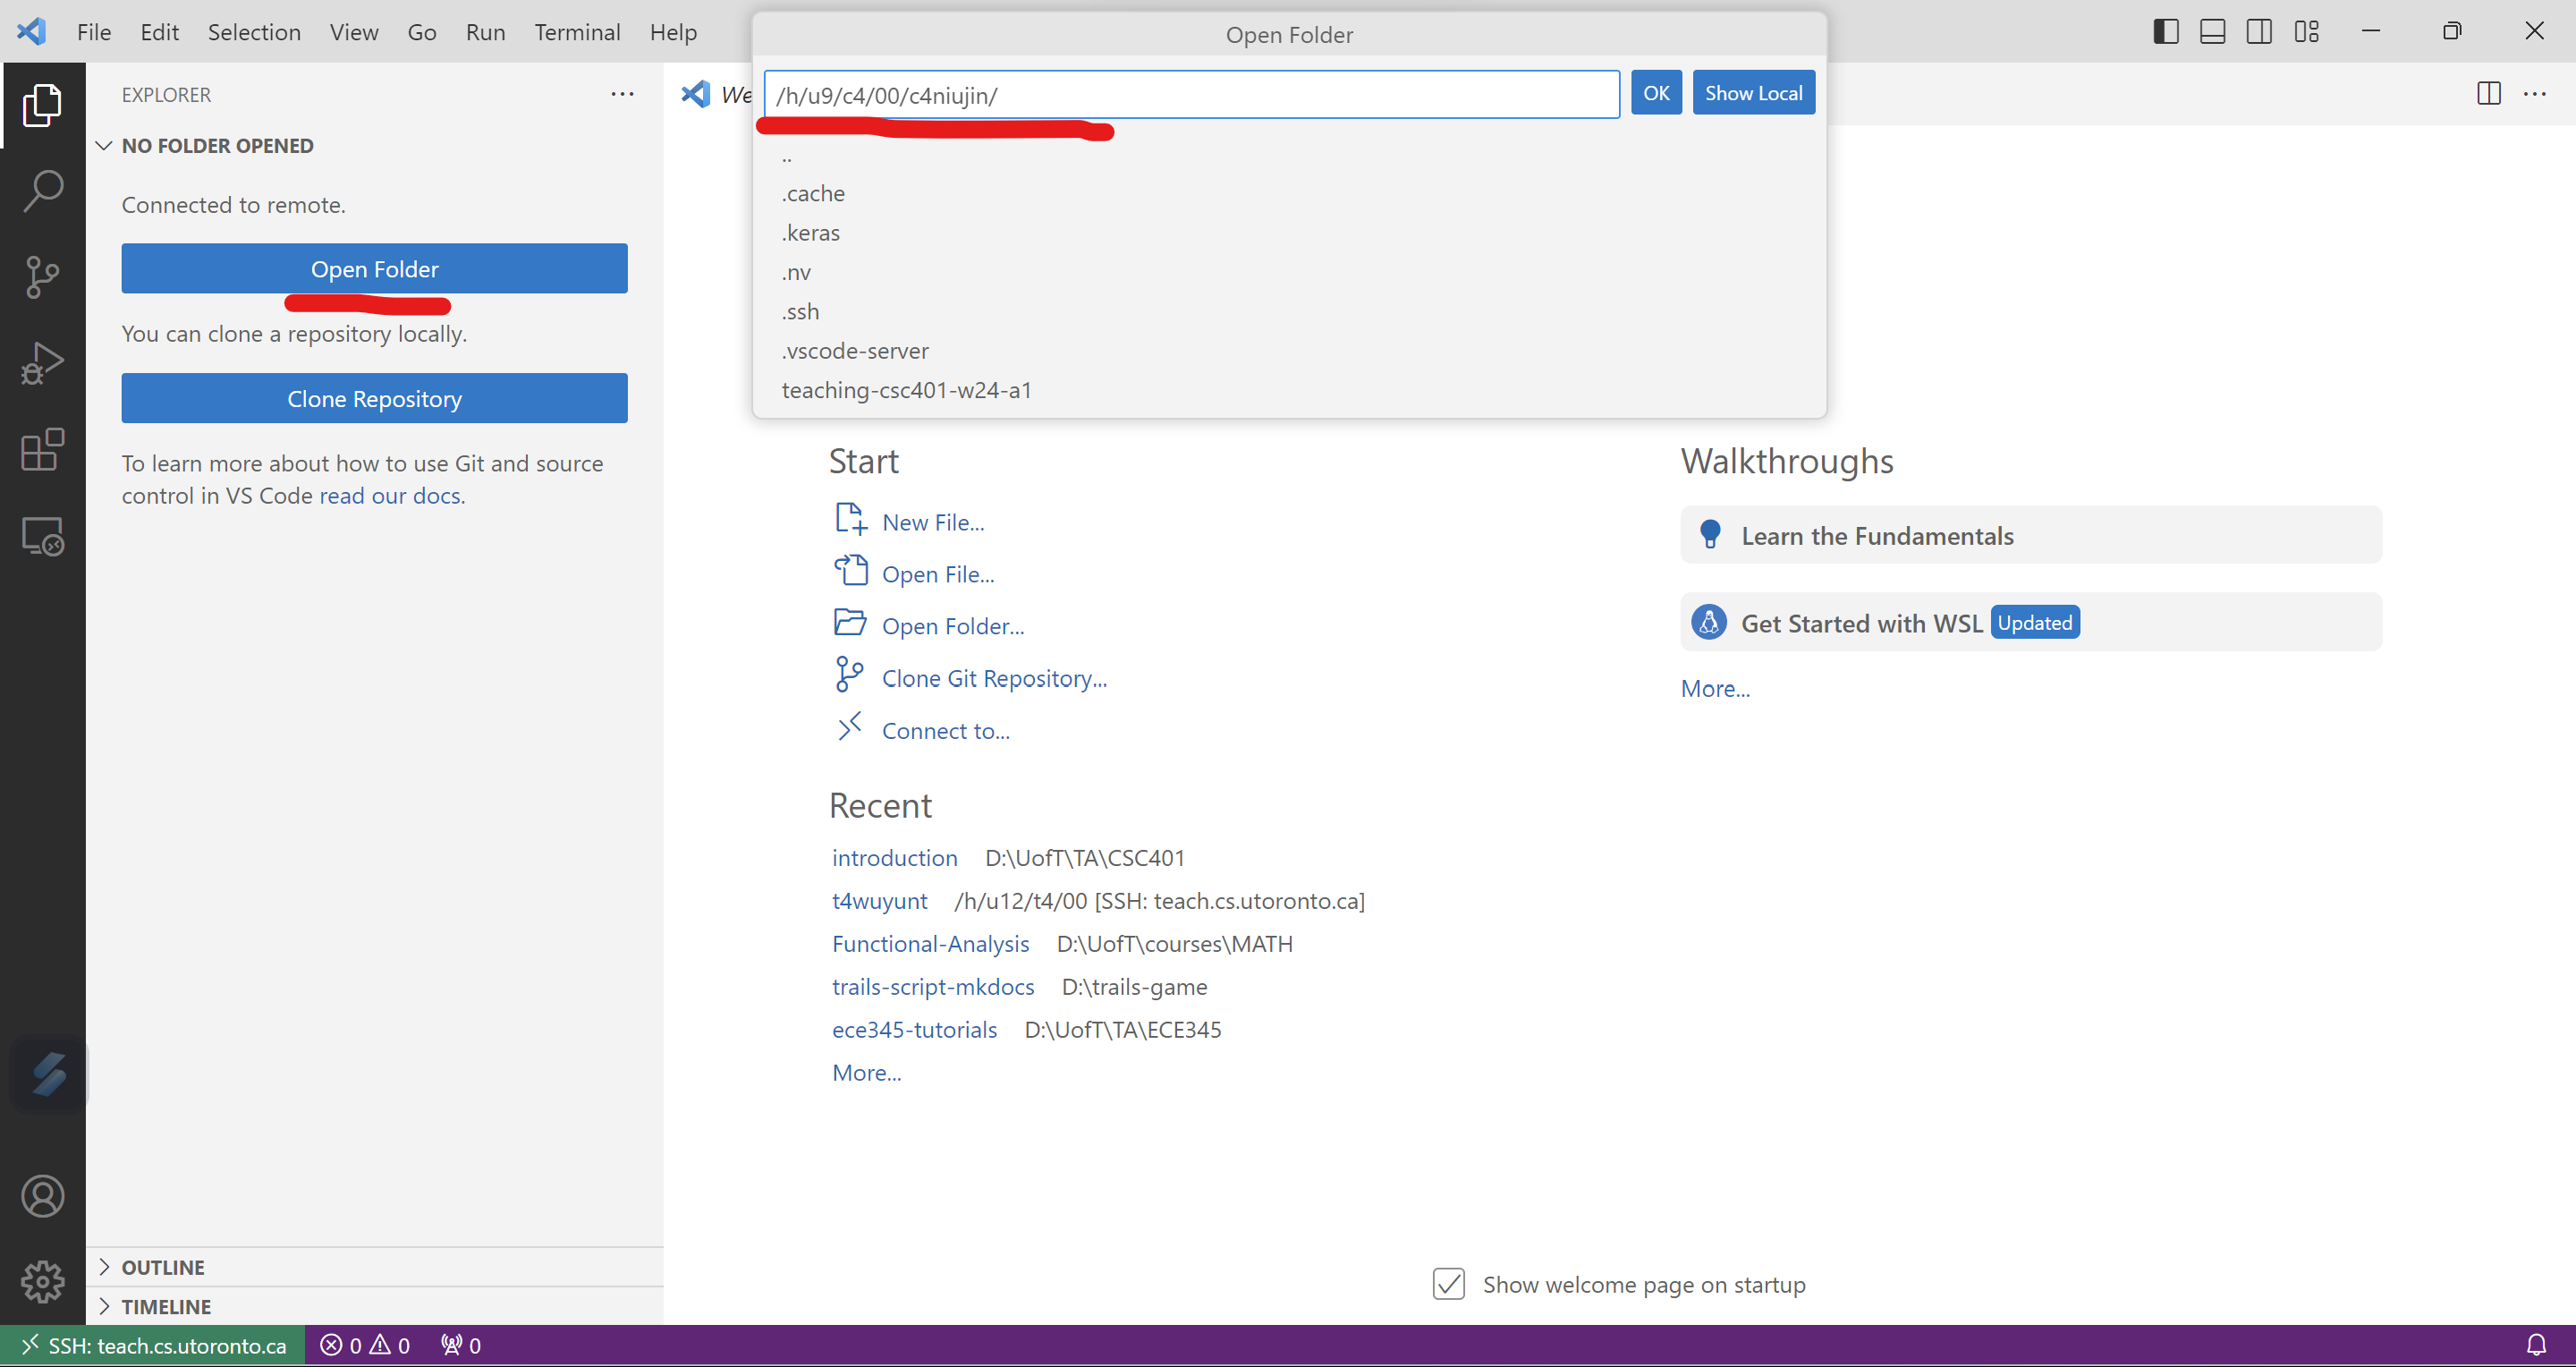
Figure 1: VSCode Initial Layout. - You can open the terminal by following the introduction.
How to Connect to a Remote Terminal Using SSH
SSH (Secure Shell) is a protocol used to securely connect to a remote terminal over a network. It encrypts the connection to protect data in transit.
Here’s an introduction on how to connect to a remote terminal using SSH:
- Basic Syntax:
The basic command to connect to a remote server is:ssh your_username@teach.cs.toronto.edu - Connecting from Linux and Mac:
- Open the terminal.
- Use the command:
ssh your_username@teach.cs.toronto.edu - Replace
your_usernamewith yourteach.csusername.
- Connecting from Windows:
- Use PowerShell or Command Prompt (Windows 10+ supports SSH natively).
- Type:
ssh your_username@teach.cs.toronto.edu - Alternatively, use an SSH client like PuTTY:
- Enter
teach.cs.toronto.eduin the “Host Name” field. - Click “Open” to connect.
- Enter
Advanced Setup
Here are instructions to set up the .ssh/config file, generate an SSH key, and add the SSH key to the authorized_keys on a remote server. These steps will help you configure SSH for easy and secure access to remote servers — you will no longer need to enter your password every time you try to connect.
- Set Up
.ssh/configFile:- Create or edit the
.ssh/configfile in your home directory:nano ~/.ssh/config - Add configuration details for your remote hosts:
Host wolf HostName teach.cs.toronto.edu User your_username - Now, you can connect to the cluster with this simplified command:
ssh wolf
- Create or edit the
- Generate an SSH Key Pair:
- Follow GitHub’s instructions to generate a new SSH key pair:
GitHub SSH Key Generation Guide. - After generating the key, you will have a public key (
id_ed25519.pub) and a private key (id_ed25519).
- Follow GitHub’s instructions to generate a new SSH key pair:
- Copy the Public Key to the Remote Server’s
authorized_keys:- Use
ssh-copy-idto add your public key to theauthorized_keysfile on the remote server:ssh-copy-id -i ~/.ssh/id_ed25519.pub your_username@teach.cs.toronto.edu - Alternatively, manually copy the contents of your public key to the remote server:
- Display your public key with:
cat ~/.ssh/id_ed25519.pub - On the remote server, append this key to the
authorized_keysfile:echo "your-public-key" >> ~/.ssh/authorized_keys - Ensure correct permissions:
chmod 600 ~/.ssh/authorized_keys
chmod 700 ~/.ssh
- Display your public key with:
- Use
- Set Permissions for the
.ssh/configFile:- To ensure security, set the correct permissions for your
.ssh/config:chmod 600 ~/.ssh/config
- To ensure security, set the correct permissions for your
Moving Files to teach.cs with scp
SCP (Secure Copy Protocol) is a command-line utility for securely transferring files between local and remote machines using SSH (Secure Shell).
Here’s an introduction on how to use scp to move files to a remote directory:
- Basic Syntax:
The basic syntax for transferring files to a remote server is:scp [options] source_file your_username@teach.cs.toronto.edu:remote_directory - Example Command:
To copy a file namedexample.txtto a remote directory~/csc485/a1onteach.cs.toronto.edu, use:scp example.txt your_username@teach.cs.toronto.edu:~/csc485/a1 - Copying Directories:
Use the-roption to recursively copy directories:scp -r a1_starter_codes your_username@teach.cs.toronto.edu:~/csc485/a1
- The application
rsyncis a faster alternative to scp, but it is only available on Linux.
Using GPUs
The Teaching Labs have a small computing cluster equipped with GPU. See these instructions on how to use them.